No products
Prices are tax included
Product successfully added to your shopping cart
There are 0 items in your cart. There is 1 item in your cart.
Viewed products
-

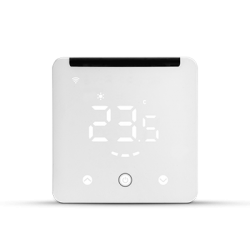
Heatit Z-TRM6 -...
Smart thermostat resulting from 4...
-

Eutonomy - euFIX S214...
The euFIX S214 NP adapter is used to...


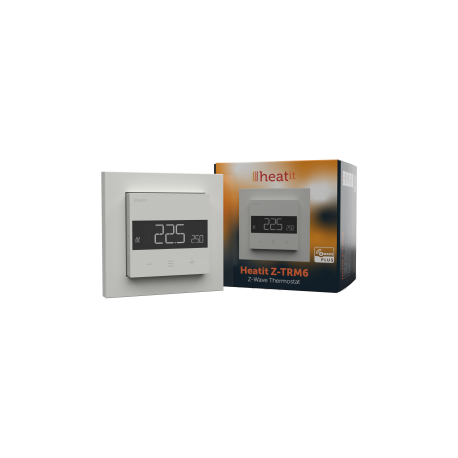
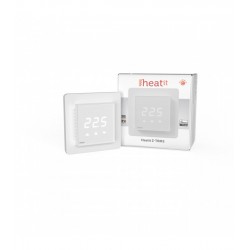
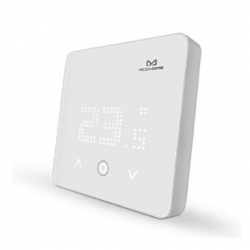
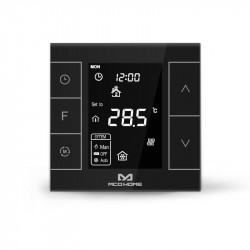
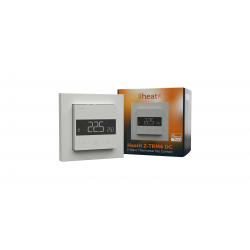
Heatit Z-TRM6 - Built-in Z-Wave hot/cold thermostat
New
Smart thermostat resulting from 4 previous generations of HEATIT Z-TRM thermostats. It brings consumption measurement, ZeroX relay protection technology, hysteresis or PWM switching , excellent design and quality and 3 control modes.
In Stock
- Remove this product from my favorite's list.
- Add this product to my list of favorites.
Technical characteristics
| Home Automation Technology | Z-Wave Serie 800 |
More info
Heatit Z-TRM6 is an electronically controlled Z-Wave underfloor heating and cooling thermostat designed for intelligent control of underfloor heating/cooling. The underfloor heating-cooling thermostat can be controlled through its Z-Wave network or physically using the buttons on the front of the thermostat itself. The thermostat has an easy-to-use interface. As it has a hot-cold mode, it is ideal for managing 220V solenoid valves in water collectors for underfloor heating/cooling.
The Heatit Z-TRM6 Z-Wave thermostat has 3 modes: Heat, Cool and Eco.
The thermostat fits standard European junction boxes and can be used with most System 55 frames. It has a robust metal frame for secure fixing in the junction box. The thermostat has a built-in room temperature sensor. Two additional external temperature sensors can also be connected.
Heatit Z-TRM6 has an active power meter that provides you with real-time information about your energy consumption. It also allows you to manually adjust the electrical energy measurement value, in case of connection with a contactor.
The product has implemented ZeroX technology. This technology ensures that the relay switches to 0 V when turned on and off (when passing through 0). With this technology, the internal thermostat relay will have a much longer life.
The thermostat can be configured with multiple associations and can be used as a master thermostat. It can control up to 10 thermostats and 10 external relays, for example wall sockets.
The HEATIT Z-TRM6 thermostat is available in white (RAL9003) and matte black. There is also a version available only by order, in white RAL 9010.
Heatit Z-TRM6 Z-Wave Thermostat
Internal room sensor
External room sensor (wired)
ground sensor
power regulator
temperature limiter
3 modes: Heat, Cold and Eco
SmartStart
Temperature reading in Z-Wave home automation controller
Weekly scheduling at the gateway
Firmware update (OTA)
Active power measurement
Hysteresis/PWM
Relay status icon
Adjustable screen brightness
single pole switch
Lock/Child Lock Mode
Temperature calibration
Open window detection
ZeroX Detection
Supports S0, S2 Class Authenticated, S2 Class Unauthenticated encryption modes
Developed and designed in accordance with strict quality (ISO 9001) and environmental (ISO 14001) requirements.
We recommend that electrical installations be carried out by an authorized electrical installer. The product must be installed in accordance with our installer manual and national building codes. Any incorrect installation, misuse or damage to the product is not covered by the warranty.
The device can support a maximum load of 16A/3600W at 230VAC. We recommend a contactor for loads greater than 13A.

KEY POINTS:
- Modes - The thermostat has 3 modes: Heat - Cool and Eco. Cool and Eco are new functions compared to previous versions.
- Metal Frame - The thermostat features a metal frame for secure mounting to the junction box, improving the durability of the product in contrast to previous plastic solutions.
- Associations - The thermostat can be configured with multiple associations and can be used as a master thermostat. It can control up to 10 thermostats and 10 external relays.
- ZeroX Detection - Products such as Heatit Z-TRM6 and Multireg6 have implemented ZeroX technology.
- This technology ensures that the relay switches to 0 V when turned on and off (as it passes through 0). With this technology, the thermostat will have a much longer lifespan.
- Power Regulator - An upgrade from the Heatit Z-TRM3, the Heatit Z-TRM6 incorporates a power regulator to control your electric heating system, should you decide to use it with high electric underfloor heating loads.
- Hysteresis - With hysteresis regulation activated, the thermostat will regulate only based on temperature. The thermostat turns on and off depending on the hysteresis value in relation to the setpoint.
- Pulse Width Modulation/PWM - With Pulse Width Modulation regulation enabled, the thermostat will regulate based on cycles. The thermostat turns on and off in percentage intervals of the cycle.
- Open Window Detection With open window detection, the thermostat detects if a window is open, allowing it to cut off the heating when a rapid drop in temperature occurs.
- Active Energy Metering - Heatit Z-TRM6 has active energy metering and gives you real-time information about your energy consumption.
- Push Buttons With a combination of push buttons and touch functionality, the thermostat is easier to use.
Extended Z-Wave info
• On the product.
• In the Quick Guide.
• On the packaging box/gift box.
You may also initiate a reset by holding the Right and Center buttons for 60 seconds.
When either of these procedures has been performed, the thermostat will perform a complete factory reset. The device will display “RES” for 5 seconds while performing a factory reset. When “RES” is no longer displayed, the thermostat has been reset.
Please use this procedure only when the network primary controller is missing or otherwise inoperable.
The primary controller/gateway has a mode for adding devices. Please refer to your primary controller manual on how to set the primary controller in add mode. The device may only be added to the network if the primary controller is in add mode.
An always listening node must be powered continuously and reside in a fixed position in the installation to secure the routing table. Adding the device within a 2 meter range from the gateway can minimize faults during the Interview process.
Standard (Manual)
Add mode is indicated on the device by rotating LED segments on the display. It indicates this for 90 seconds until a timeout occurs, or until the device has been added to the network. Configuration mode can also be cancelled by performing the same procedure used for starting
Configuration mode.
1. Hold the Center button for 5 seconds.
The display will show “OFF”.
2. Press the ”+” button once to see “CON” in the display.
3. Start the add device process in your primary controller.
4. Start the configuration mode on the thermostat by holding the Center button for approximately 2 seconds.
The device is now ready for use with default settings.
If inclusion fails, please perform a ”remove device” process and try again. If inclusion fails again, please see “Factory reset”.
The primary controller/gateway has a mode for removing devices. Please refer to your primary controller manual on how to set the primary controller in remove mode. The device may only be removed from the network if the primary controller is in remove mode.
When the device is removed from the network, it will NOT revert to factory settings.
Standard (Manual)
Remove mode is indicated on the device by rotating LED segments on the display. It indicates this for 90 seconds until a timeout occurs, or until the device has been removed from the network. Configuration mode can also be cancelled by performing the same procedure used for starting
Configuration mode.
1. Hold the Center button for 5 seconds.
The display will show “OFF”.
2. Press the ”+” button once to see “CON” in the display.
3. Start the remove device process in your primary controller.
4. Start the configuration mode on the thermostat by holding the Center button for approximately 2 seconds.
NB! When the device is removed from the gateway, the parameters are not reset. To reset the parameters, see Chapter ”Factory reset”.
Reviews
Excelente termostato suelo radiante
El mejor de los que he probado. Calidad fisica muy bien. El funcionamiento con mi controlador muy bien. EStupendo para suelo radiante y refrescante.


